In case you are acutely aware about forsaking private particulars of your self whereas looking, there are methods to keep away from this. With non-public looking, you possibly can go to pages on the web with out worrying about leaving a report of your historical past, password, or cookies. In case your browser is the Safari app on iPhone, totally different options that may assist guarantee privateness whereas browsing the web.
Nonetheless, you will need to word that these Safari non-public looking options might solely stop info from being saved in your iPhone. Data transmitted past your iPhone, alternatively, should still be accessible. Listed below are the other ways to make sure non-public looking in Safari in your iPhone.
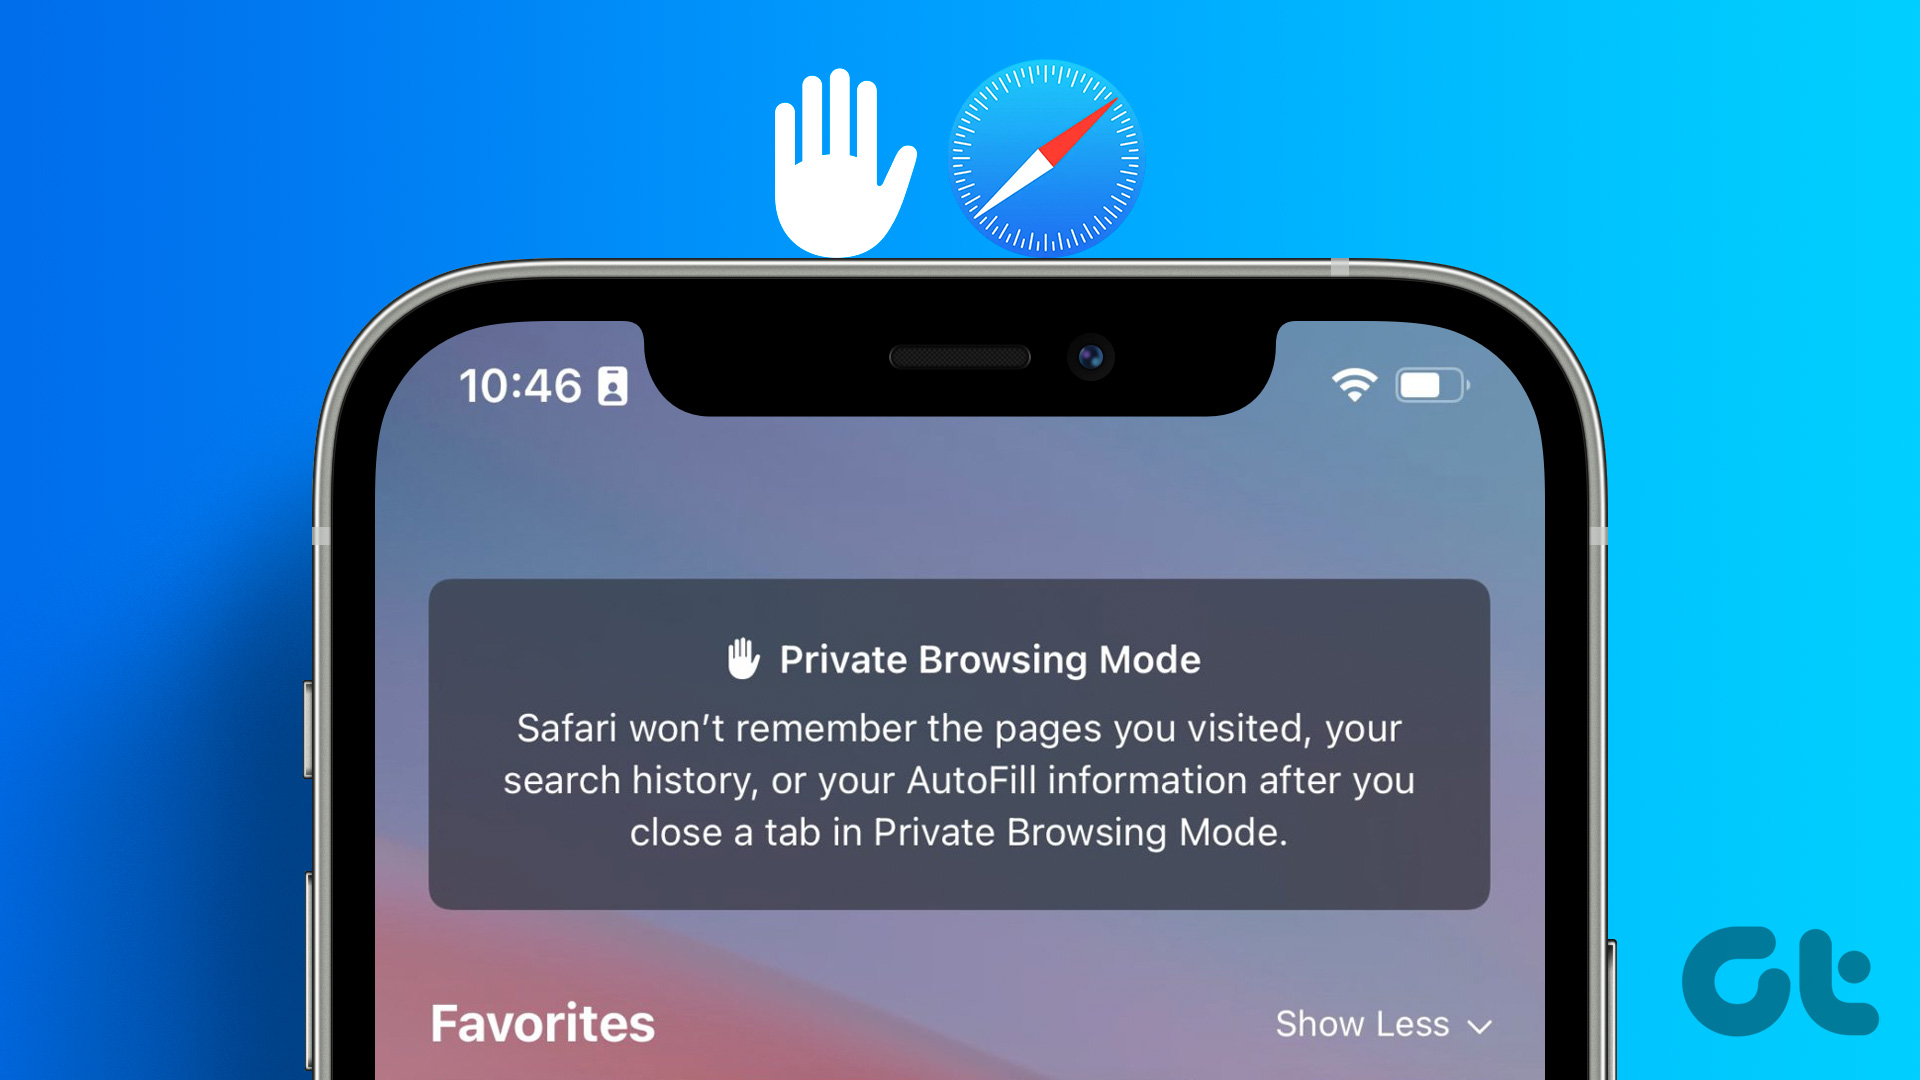
The right way to Allow Safari’s Personal Searching Mode on iPhone
With Safari’s Personal Searching mode, the browser received’t save the web sites you go to nor will it retain your private particulars. Right here’s methods to allow the Personal Searching mode in Safari on iPhone:
Step 1: Faucet the Safari app out of your iPhone residence display screen.
Step 2: Faucet the Tabs button on the bottom-right nook of the Safari web page.
Step 3: Faucet the [number] Tab downward arrow or Begin Web page downward arrow in the midst of the web page.
Step 4: On the Tab Teams listing, faucet the Personal possibility.
Step 5: Faucet Completed.
The right way to Monitor and Stop Trackers With Safari’s Privateness Report
Safari produces a Privateness Report, which supplies a abstract of trackers that had been encountered and prevented whilst you had been looking. iPhone customers can depend on this report back to assessment and modify Safari settings to maintain their looking non-public. Nonetheless, in Personal Searching mode, Safari won’t maintain these statistics. To have the Privateness Report, you could use the traditional looking mode. Right here’s methods to view your Privateness Report.
Step 1: Faucet the Safari app out of your iPhone residence display screen.
Step 2: On the Safari Begin Web page, there ought to be a piece for the Privateness Report.
Step 3: Faucet the report abstract to view the total particulars.
Should you can’t see the Privateness Report in your begin web page, chances are you’ll must edit your begin web page. Right here’s how to take action:
Step 1: On the Safari Begin Web page, faucet the Edit button.
Step 2: Faucet the toggle beside Privateness Report and guarantee it exhibits a inexperienced fill.
Step 3: Faucet the x button on the prime proper of the web page to shut the web page. The Privateness Report will function on the beginning web page.
With the main points of your privateness report, you possibly can decide the way you need your Safari Privateness and Safety Settings arrange.
The right way to Management Privateness and Safety Settings for Safari
Right here’s how one can tweak your privateness and safety settings in Safari.
Step 1: Faucet the Settings app in your iPhone.
Step 2: Scroll down and faucet Safari Settings.
Step 3: Scroll down Safari Settings to the Privateness & Safety Part.
Step 4: Faucet the toggles beside any of those choices to allow or disable them:
Stop Cross-Web site Monitoring
Block All Cookies
Fraudulent Web site Warning
Privateness Preserving Advert Measurement
Examine for Apple Pay
Step 5: Faucet the Disguise IP Handle possibility and select whether or not to Flip it Off or Disguise From Trackers.
If these choices had been beforehand disabled, knowledge referring to them had been beforehand saved in your browser cache. You’ll be able to clear your browser cache utilizing the steps beneath.
The right way to Clear Safari’s Searching Cache
Right here’s methods to clear the looking historical past, cache, and cookies for the Safari browser.
Step 1: Faucet the Settings app in your iPhone.
Step 2: Scroll down and faucet Safari Settings.
Step 3: Scroll down Safari Settings and faucet the ‘Clear Historical past and Web site Information’ possibility.
Step 4: On the pop-up notification, verify your motion to ‘Clear Historical past and Information.’
Should you desire to not use Safari’s Personal Searching mode, you possibly can nonetheless stop your IP handle from getting tracked utilizing iCloud Personal Relay.
The right way to Shield Your IP Handle on Cell Information and Wi-Fi Utilizing iCloud Personal Relay
Should you subscribe to iCloud+, you should use iCloud Personal Relay to stop your IP handle from being disclosed. iCloud Personal Relay will encrypt the visitors leaving your iPhone, thereby guaranteeing your IP handle shouldn’t be disclosed. Right here’s methods to flip iCloud Personal Relay on over a Wi-Fi and cellular community.
The right way to Flip iCloud Personal Relay On for Wi-Fi
Right here’s methods to flip iCloud Personal Relay on for a Wi-Fi community.
Step 1: Faucet the Settings app in your iPhone.
Step 2: Scroll down and faucet Wi-Fi.
Step 3: Faucet the ‘i’ image beside the Wi-Fi community you may have related.
Step 4: Scroll down and faucet the toggle beside ‘Restrict IP Handle Monitoring’ to allow it.
The right way to Flip iCloud Personal Relay On for Cell Information
The iCloud Personal Relay possibility would make sense if you’re on a quicker Wi-Fi community. However if you wish to use it whilst you browse the net or use the apps on cellular knowledge, you’ll want to change on that possibility. Right here’s how to try this.
Step 1: Faucet the Settings app in your iPhone.
Step 2: Scroll down and faucet Cell Information.
Step 3: Faucet the toggle beside Cell Information to allow it.
Step 4: Faucet Cell Information Choices.
Step 5: Faucet the toggle beside Restrict IP Handle Monitoring to allow it.
Hiding Your E-mail With iCloud+
A subscription to iCloud+ doesn’t solely offer you entry to iCloud Personal Relay for safeguarding your looking privateness. You too can prolong your web privateness with iCloud+ utilizing its cover my electronic mail function. This manner, you possibly can management who has entry to your inbox.